
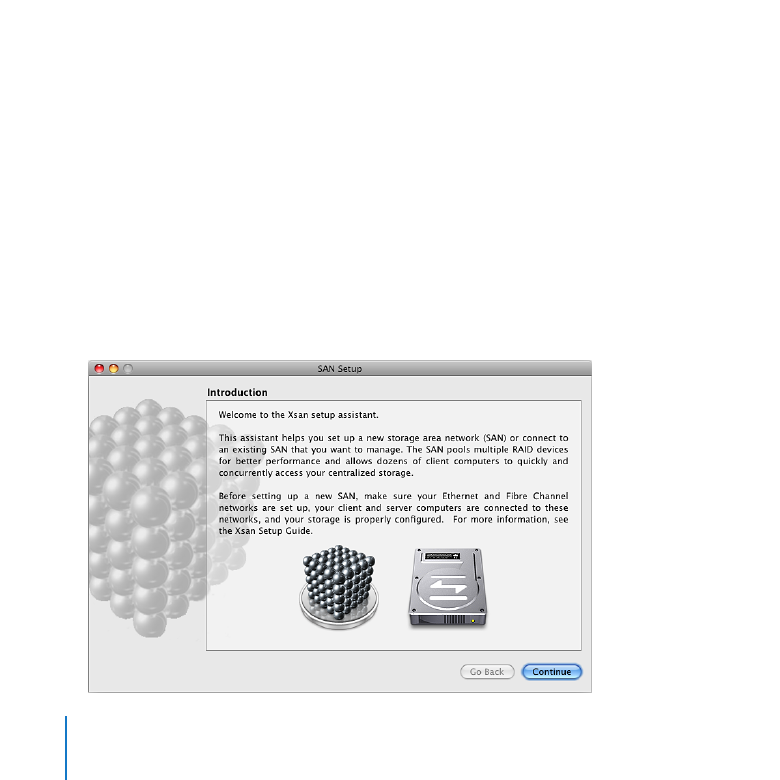
Set Up the Primary Metadata Controller
Now that you’ve prepared your SAN clients, standby metadata controller, and RAID
storage systems, you can set up the primary metadata controller. This computer must
have Mac OS X Server installed but not yet set up.
To set up the primary controller:
1
Turn on the computer that will be the primary metadata controller.
2
Follow the Mac OS X Server setup assistant’s onscreen instructions to configure the
computer, paying special attention to the following panes:
Time Zone: To ensure consistent file metadata, choose the same network time server
you chose for the other computers in the SAN.
Administrator Account: Enter the same administrator account name and password
that you used for your SAN clients and standby metadata controller.
Xsan: Select “Configure as Xsan Metadata Controller.”
Xsan Controller Type: Select “Configure as Primary Xsan Metadata Controller.”
Network: Enable only the public Ethernet port (Ethernet 1 at the top of the list).
Choose a configuration method from the pop-up menu and enter the appropriate
settings for the client computer. See “What You Need to Know” on page 7. You can
choose:
Â
Manually, and enter the static public IP address, subnet mask, and router address for
the computer
Â
Using DHCP with manual address, and enter the computer’s IP address if your DHCP
server provides other TCP/IP connection settings
Setting Up a SAN
18
Network Names: Verify the network name provided by your DNS service and, if you
want, enter a computer name for use with Bonjour naming on your local network.
Users and Groups: Select “Manage users and groups with Xsan Admin.”
Install Xsan: Insert the Xsan Install Disc, select “Install Xsan now,” and then click
Continue.
Step 8: