Configure the SAN
The Xsan setup assistant opens when basic server configuration and Xsan installation
are complete. Follow these steps to enter basic SAN settings.
To configure the SAN:
1
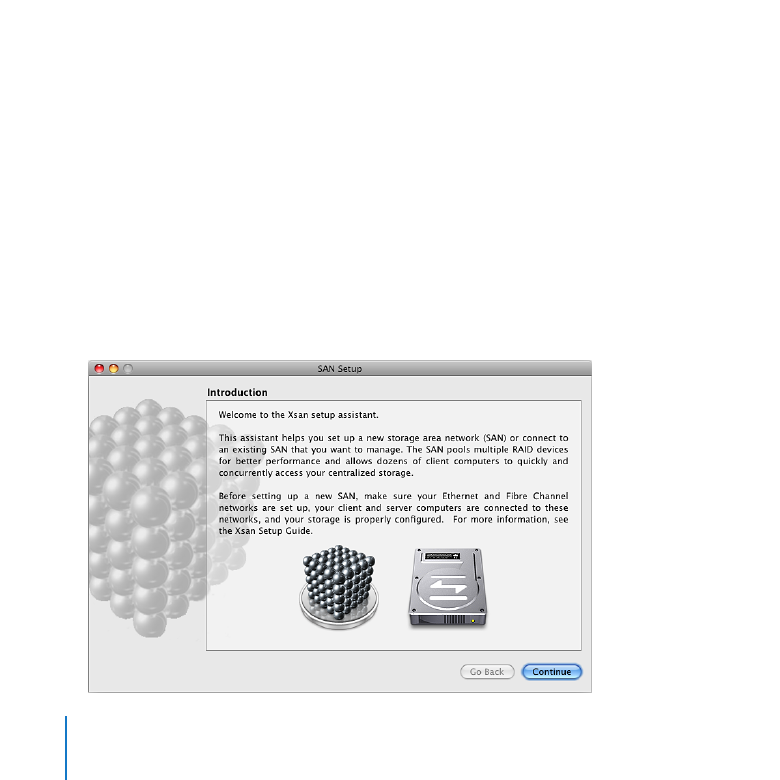
In the Introduction pane, click Continue.
Setting Up a SAN
19
2
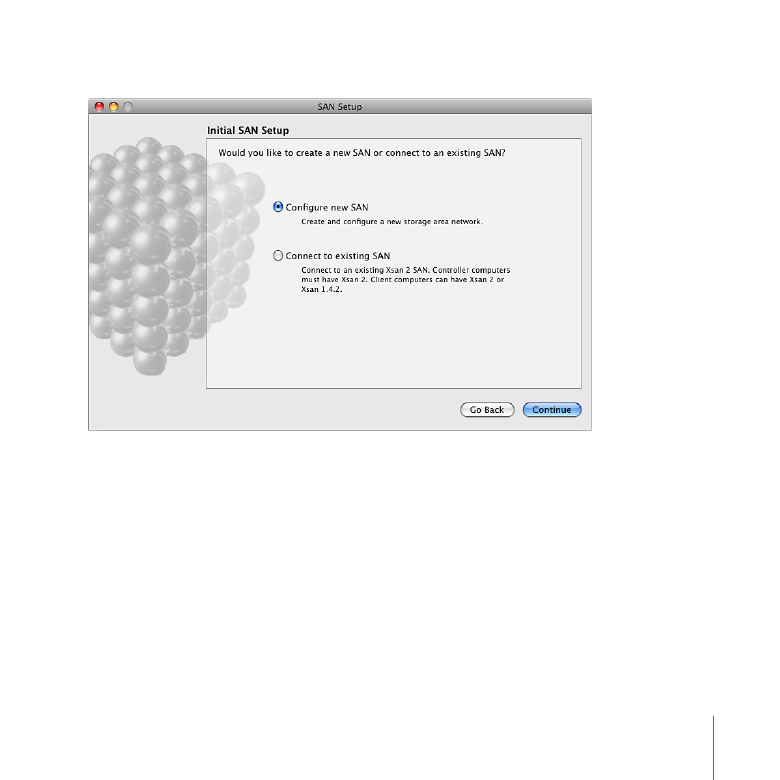
In the Initial SAN Setup pane, select “Configure new SAN.”
Setting Up a SAN
20
3
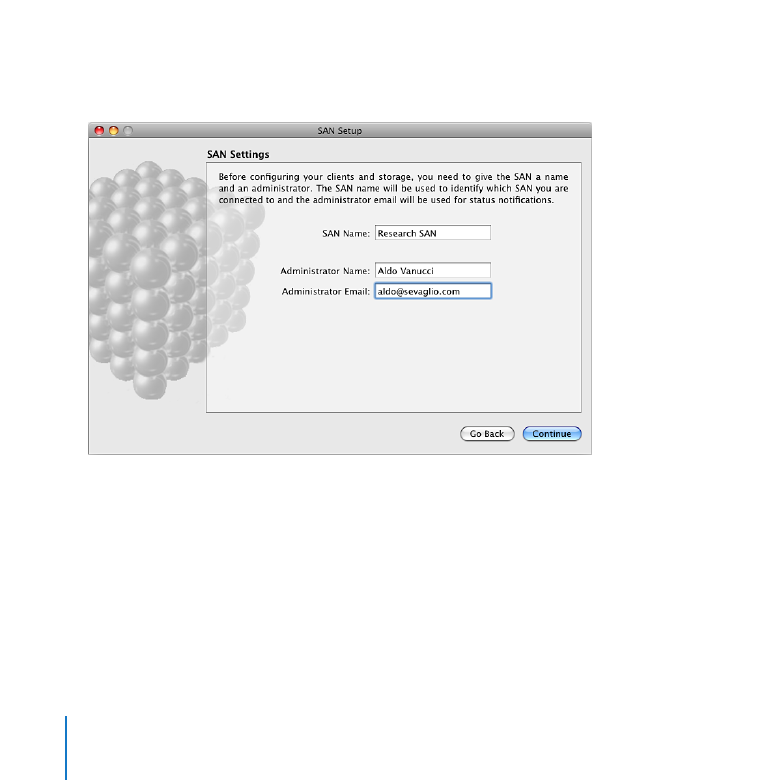
In the SAN Settings pane, type a name for the SAN and then enter the SAN
administrator’s name and email address.
Setting Up a SAN
21
4
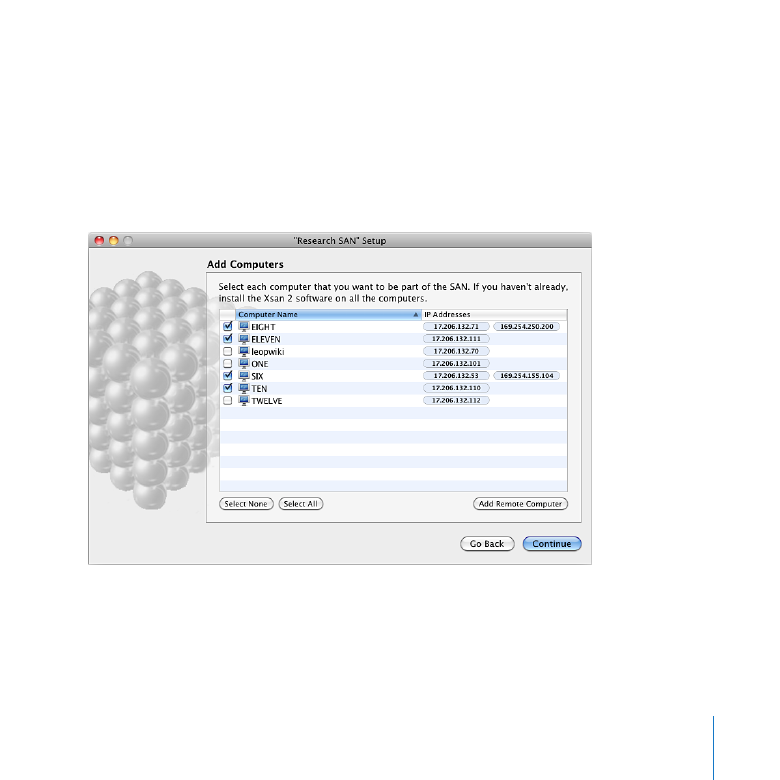
In the Add Computers pane, make sure all computers that you want to be in the SAN
are selected.
If a computer you want to include isn’t listed, make sure you’ve installed Xsan on that
computer, check that it’s connected to both Ethernet networks, and verify the network
settings in the computer’s Network preferences.
You can also click Add Remote Computer to add computers manually.
Setting Up a SAN
22
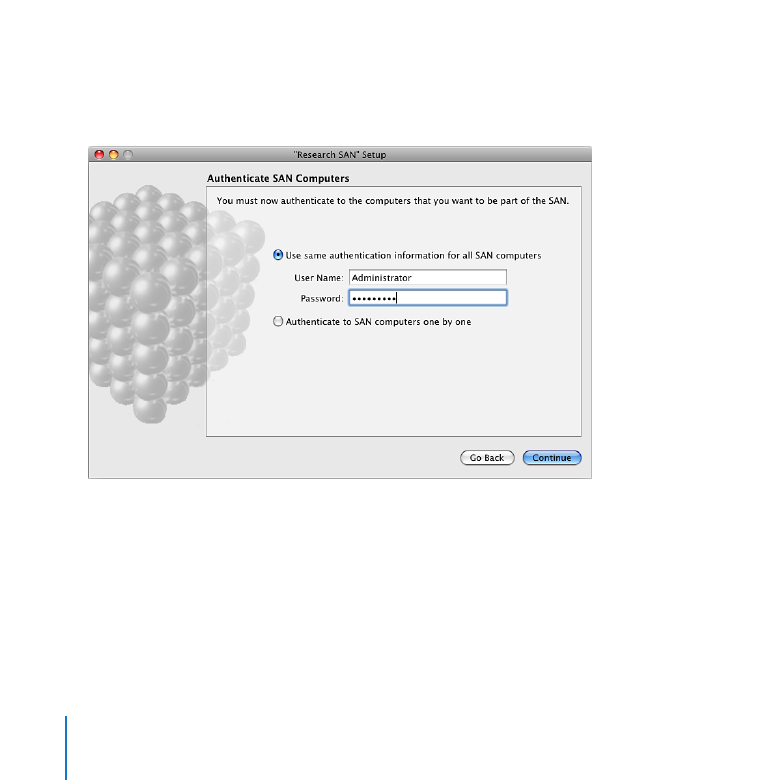
5
In the Authenticate SAN Computers pane, select “Use same authentication information
for all SAN Computers” and enter the user account name and password for the
administrator account you created on the clients and the standby metadata controller.

Setting Up a SAN
23
6
In the Serial Numbers pane, enter your Xsan serial numbers.
You can click Add Serial Number and enter a number, or drag a text file containing
serial numbers to the list.
Setting Up a SAN
24
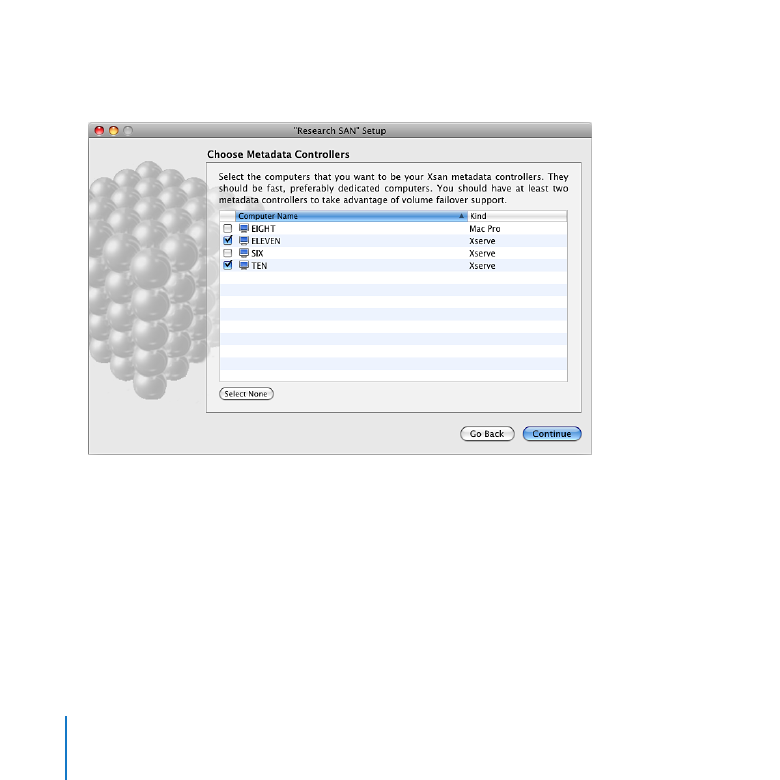
7
In the Choose Metadata Controllers pane, select your primary and standby metadata
controllers and deselect any client-only computers that appear in the list.
Setting Up a SAN
25
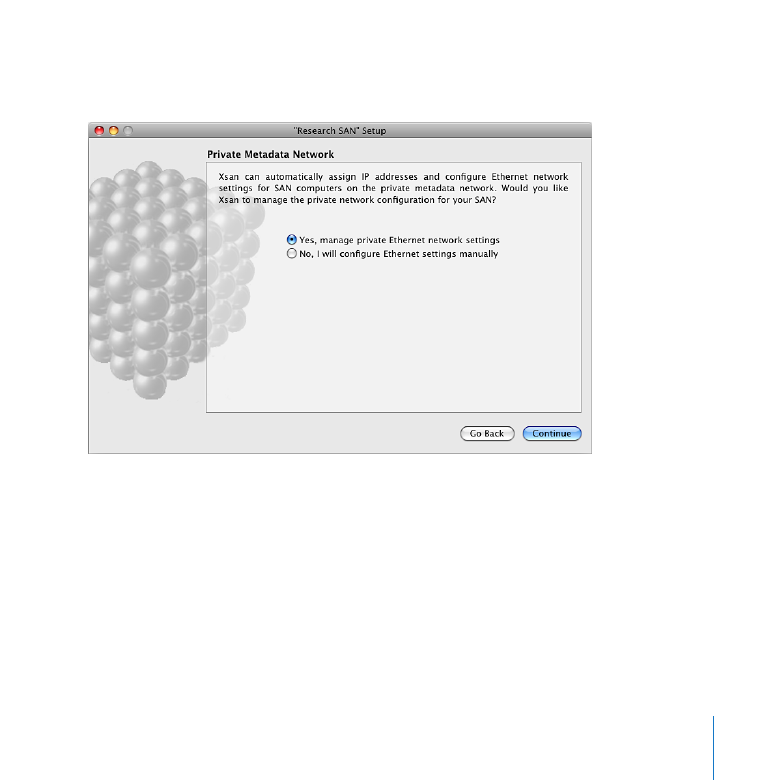
8
In the Private Metadata Network pane, select “Yes, manage private Ethernet network
settings.”
Setting Up a SAN
26
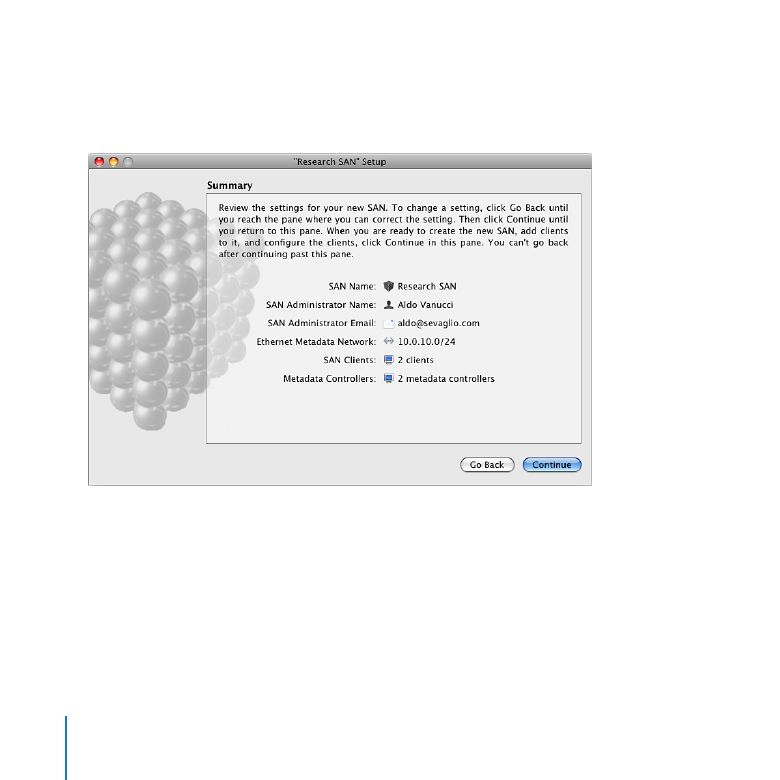
9
Review the Summary pane, and if all settings are correct, click Continue.
To change a setting, click Go Back until you reach the pane where you can correct the
setting. Then click Continue until you return to the Summary pane.
Setting Up a SAN
27
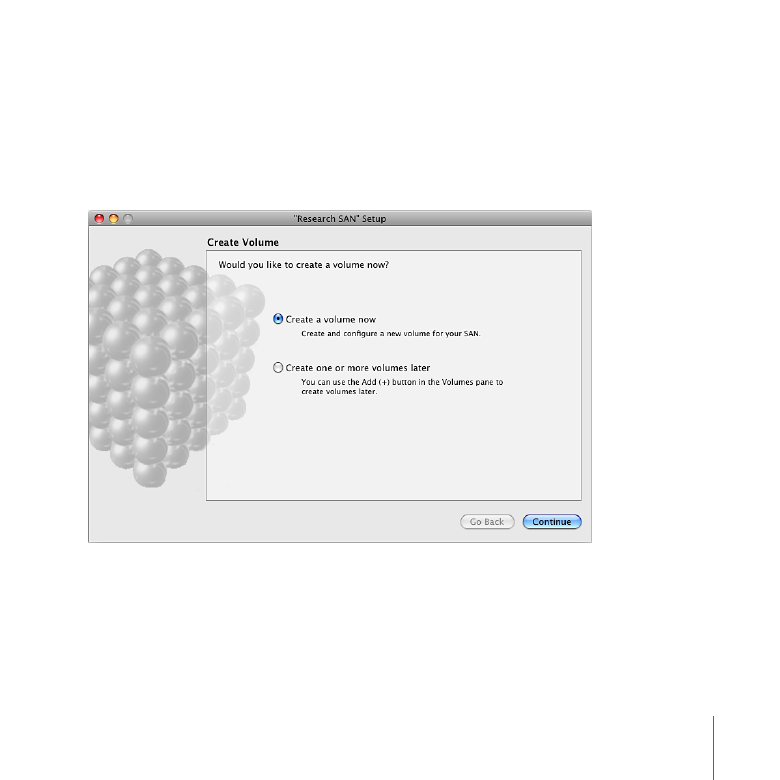
Step 9: