Create a SAN Volume
When the Xsan setup assistant finishes basic SAN configuration, it asks if you want to
create a volume.
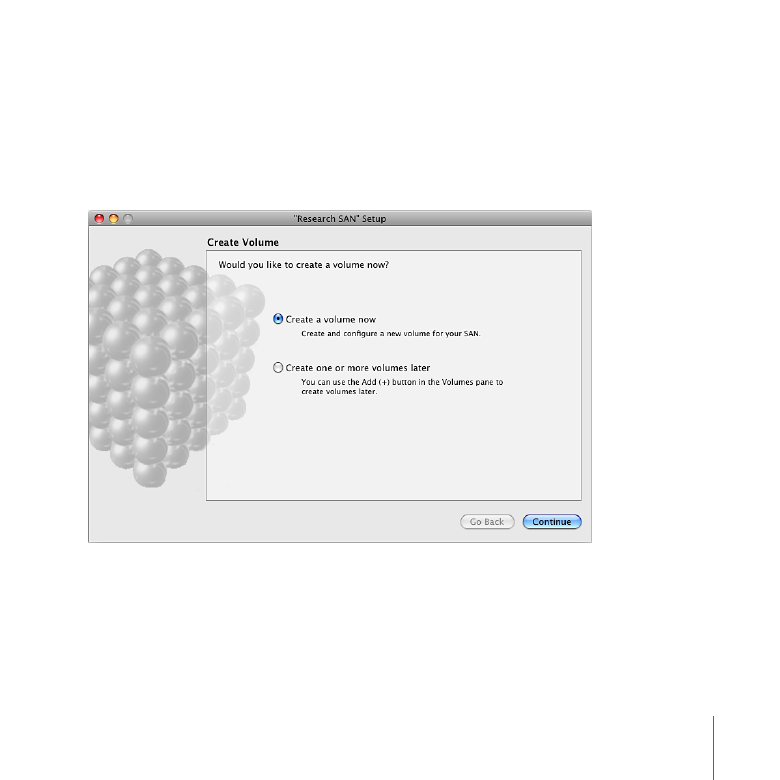
To create a volume:
1
In the “Create Volume” pane, select “Create a volume now” and click Continue.
Setting Up a SAN
28
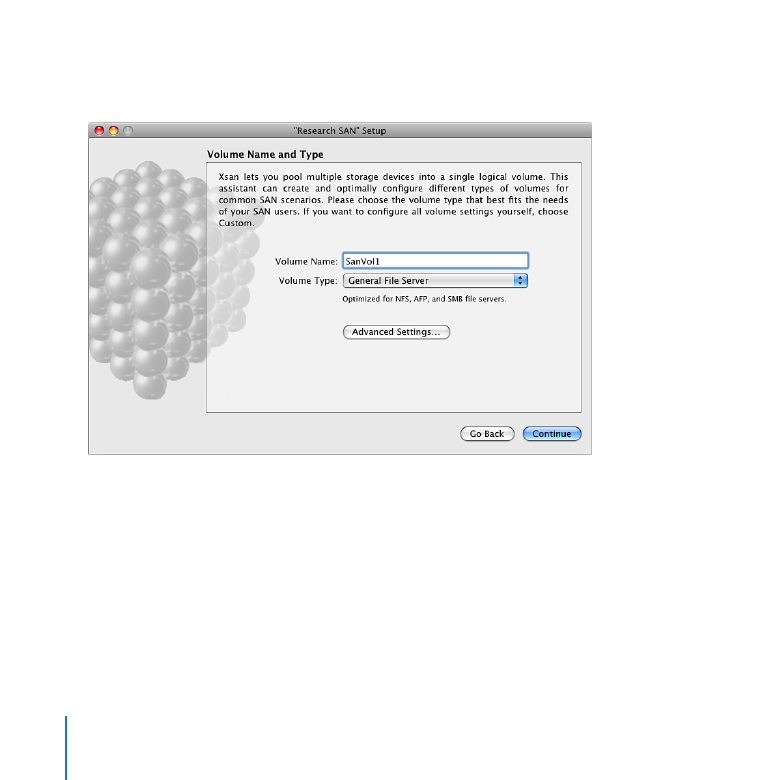
2
In the “Volume Name and Type” pane, enter a name for the volume and choose a
volume type that matches the type of work the volume will support.
3
If the Label LUNs pane appears, select “Automatically label all unlabeled LUNs with
prefix” and click Continue.
4
When the list of labeled LUNs appears, verify the LUN labels and click Continue.
Setting Up a SAN
29
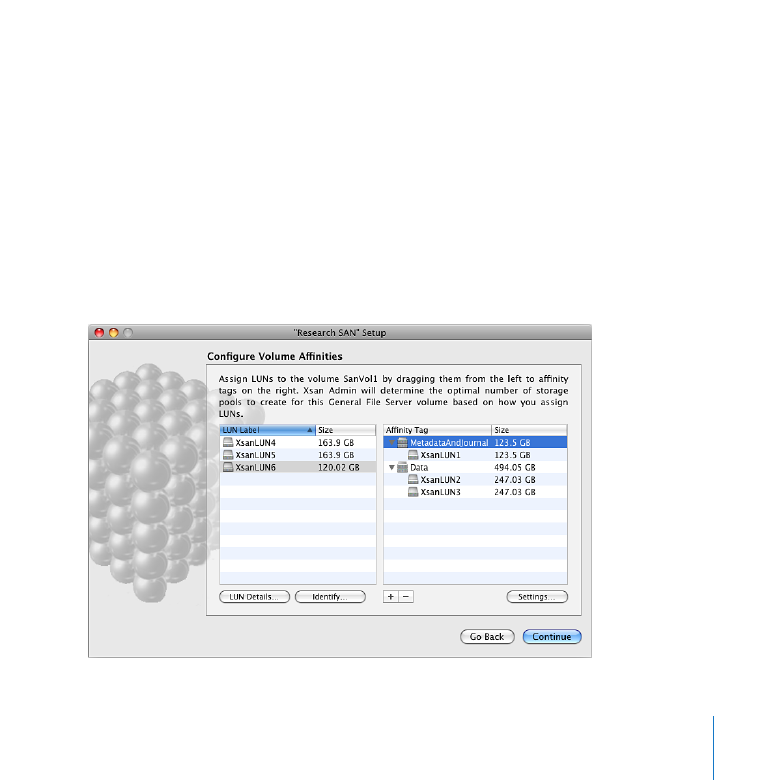
5
In the Configure Volume Affinities pane, drag LUNs from the left column to the
corresponding affinity tag in the right column.
a
Drag the special metadata LUN you created (in Step 6, “Create a Metadata Array”) to
the MetadataAndJournal affinity tag.
b
Drag your other LUNs to the other affinity tags.
To avoid wasting storage, all LUNs assigned to an affinity tag should be the same
size.
c
If you’re left with any affinity tags that contain no LUNs, delete them.
d
When you finish, click Continue.
Setting Up a SAN
30
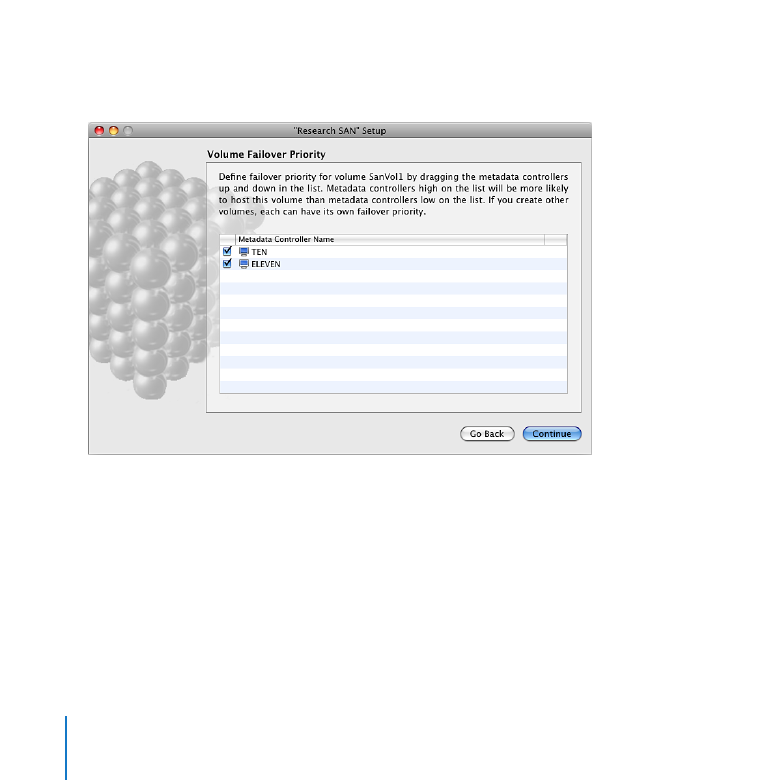
6
In the Volume Failover Priority pane, ensure that the primary metadata controller is at
the top of the list, and then click Continue.
Setting Up a SAN
31
7
In the Setup Complete pane, click Continue.
Xsan Admin displays a summary of your SAN configuration, and the new volume is
mounted and ready to use in the Finder on all clients and metadata controllers.
Step 10: